Magento page builder is a ‘Magento extension for creating content by dragging-and-dropping pre-built controls‘. Introduced in Magento Open Source 2.4.3 the page builder functionality brings options WordPress users will be familiar with in Gutenberg block editor and plugins such as WPBakery.
This is long expected update, although as with WordPress’ Gutenberg block editor the transition from pre page builder layouts to the new block editor grid is often bumpy.
We’ve had several calls from clients who just want to make simple text edits without the page builder. Whilst I don’t think you should disable the Magento Page Builder fully, here are some options for making the transition slightly easier.
How to disable the Page Builder editor in Magento
I’d recommend leaving the page builder in place but disabling it from product attributes such as description if the new layout and block options aren’t needed.
How to disable the Page Builder from the product description
In Magneto admin;
- Go to Stores > Attributes > Product.
- Select the target product attribute i.e. Description.
- Under Attribute Properties, change Page Builder for Catalog Input Type.

I’ve also set the Short Description back to the Text Editor option.
How to disable the Page Builder completely
In Magneto admin;
- Go to Stores > Settings > Configuration.
- Under General tab, choose Content Management.
- Expand Advanced Content Tools. Set Enable Page Builder to No.
- Click “Turn Off” in the confirm popup.
How to edit text using the Page Builder editor in Magento
As an example we’re going to edit category descriptions that have NOT been fully converted to the Page Builder editor.
In Magento admin;
- Go to Catalog > Categories > Choose category from the folder tree on the left
- Under Content > Description. You’ll see an input field with an Edit with Page Builder button in the top right corner.
Converted to HTML Page Builder block
If it’s a converted block, you’ll likely see a bit of HTML and some text that needs to be put into the new Page Builder elements to edit quickly.

Clicking the Edit with Page Builder button, will take you to the page builder view. Then if you hover over the block you’ll see a cog icon.

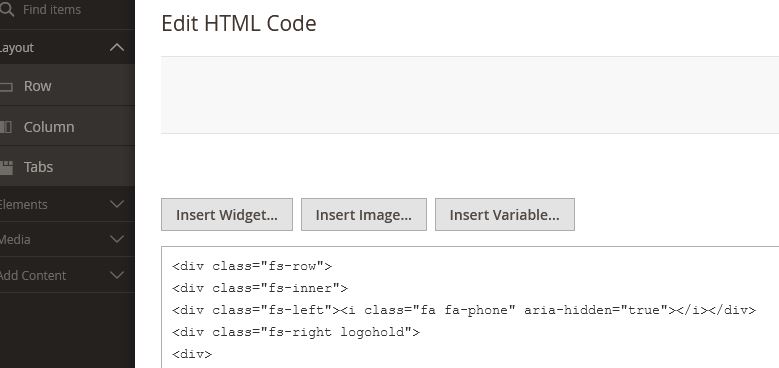
This will take you to the Edit HTML Code section and allow you to make a quick edit as before.
To close and save the block changes, click on the top right arrows.
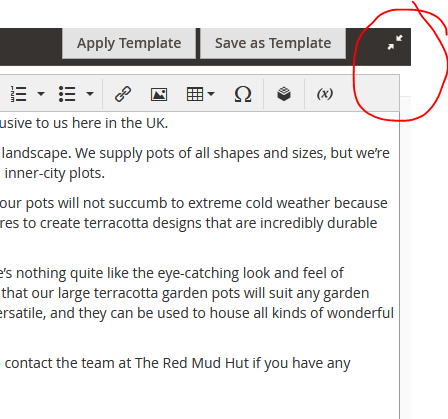
This will take you back to the category page.
Correctly converted Page Builder block
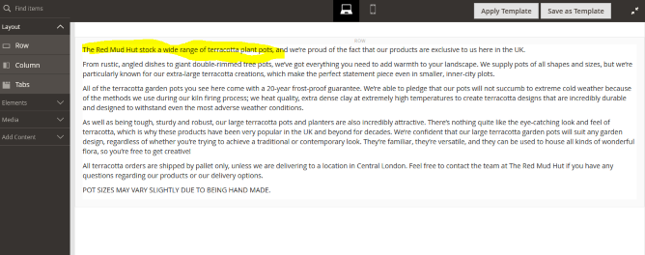
If the content has been placed in the new page builder elements you’ll see something cleaner like the below.

You should be able to click on any text and it will allow you to edit it.
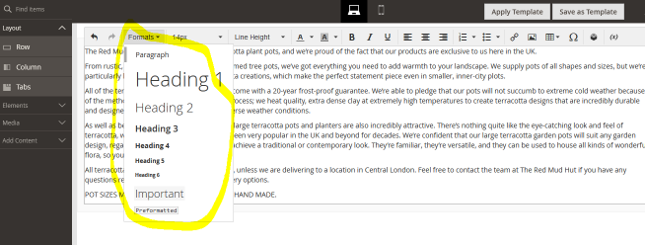
You’ll then see a text editor toolbar. Formats for example allows you to make text a header / heading.
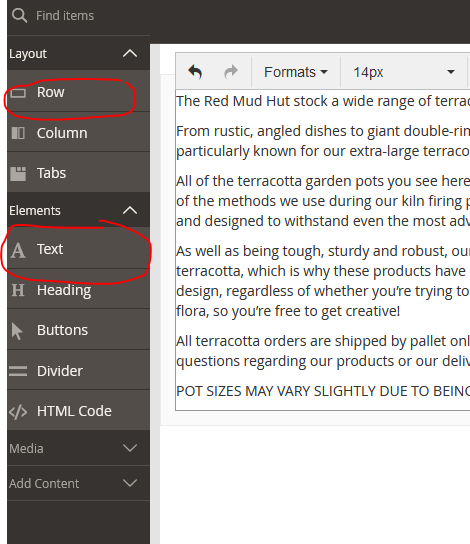
On the left hand menu you have layout options. You can drag these elements to the big section on the right.
Empty Page Builder block
If it’s a new category with no content you’ll see instructions telling you to start with a new row.

As before click the Edit with page builder (button). Once you’ve dragged a row to the right you can drag elements such as text, headings etc from the left menu.
This makes editing a lot clearer, whereas old converted blocks just show a lump of html.
To save the block, click on the top right arrows, that takes you back to the category page.
Hopefully that will help you navigate the basics of the new page builder functionality. Adobe has a guide to some of the more advanced parts like adding product widgets and Google maps.

